Saturday, January 25, 2014

Posted by Unknown 9:51 PM No comments
Almond Meal Trail Mix Bars


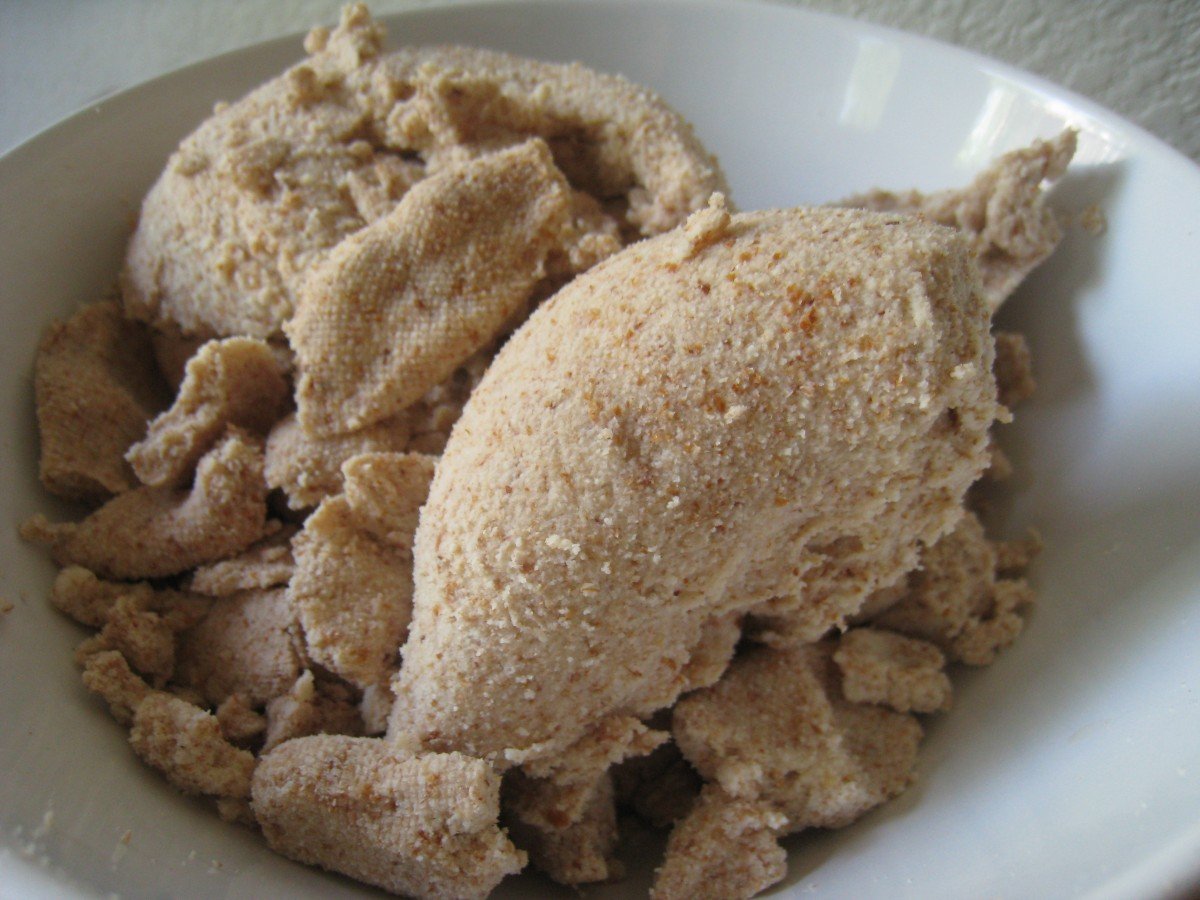
I have been making almond milk for a few months now, and constantly looking for new ways to use up some of the almond meal.  I can only use so much almond flour.  Now that training season is in full swing I need CLEAN versions of the FUEL I used last season.  I feel this recipe needs a little more tweaking, but It is a hearty little snack.  Would be a great companion with some almond butter.


Trail Mix Rounds

Ingredients
  • 2 cup almond meal
  • 1/2cup flaxseed meal
  • 1 cut unsweetened coconut
  • 1/3 cup unsweetened craisins
  • 1/3 cup raisins
  • 1/2 cup chopped walnuts (or other nuts) I used pecans
  • 1/2cup cashew pieces
  • 2 tbsp coconut oil
  • 1/4 cup honey - optional ( I left this out for whole30)
         

Directions
Preheat oven to 325 degrees. Add all ingredients to a bowl, and mix well (hands work best) making sure all ingredients are thoroughly combined. Form into either round "discs" and press into the bottom of cupcake tins to bake, or grease a baking sheet, and mold into a big bar to bake, and then cut after baking, Bake for about 25-30 minutes, let cool, and enjoy :) These keep pretty well even outside of the fridge.
Posted by Unknown 9:35 PM No comments


*Thank you to Katie of  Wellness Mama for another great post!  Remember you can also find Katie here at her own amazing blog.  Now read and enjoy!
 
For a Paleo athlete (or any athlete) drinks like Gatorade, Powerade, etc are not a good option. Sure, they restore glycogen, but most are high carb or filled with questionable chemicals, or both!
Most of the time, plain water is all we need for good hydration, but those who compete in endurance sports or high intensity competitions (or have labors as long as mine!) occasionally need an electrolyte boost.

 
Even at these times, there are better options than conventional sports drinks. Gatorade, for instance, contains: Water, sucrose syrup, glucose-fructose syrup, citric acid, natural grape flavor with other natural flavors, salt, sodium citrate, monopotassium phosphate, red 40, Blue 1. (This is from a picture of the grape flavored Gatorade label.
If you ever compete in high intensity or endurance activities that sometimes require an some additional electrolytes, but want to avoid things like “sucrose syrup,” a homemade sports drink is easier, cheaper, and much, much, healthier.
This is also a good alternative to give your kids occasionally, as it has a lot of natural vitamins and minerals.

 
 Natural Sports Drink Ingredients:
  • One Quart (32 ounces) of  liquid: herbal tea, coconut water or plain water. (I use nutrient dense Red Raspberry Leaf Tea brewed with Stevia for the natural vitamin boost)
  • 1/8-1/4 teaspoon of Himalayan sea salt (regular salt will work, but doesn’t have the added trace minerals)
  • 1/4-1/2 tsp calcium magnesium powder or crushed tablets
  • 1/4 cup of juice (lemon, lime, grape, apple, etc)- optional - I used apple, It is what I had.
  • 1 tsp sweetener (honey, stevia, etc) – optional – If you are Whole30, then you would want to leave out the sweetener.

Friday, January 17, 2014

Posted by Unknown 6:11 AM No comments


Sausage and Spinach Stuffed Portobello Mushrooms
nomnompaleo.com

  • 5 medium Portobello mushrooms
  • Avocado oil (or your favorite fat)
  • 1 pound uncooked sausage, removed from casing (I used bratwurst)
  • ½ pound of frozen spinach, defrosted in the microwave and squeezed dry
  • ½ small onion, minced
  • Sunny Paris seasoning
  • 1 large egg, lightly beaten
  • 1 tablespoon coconut flour
  • Kosher salt
  • Ghee (or your favorite fat)
  • Freshly ground pepper
  • 1 ½ cup of Rao’s marinara sauce, heated

  1. Preheat the oven to 400 F (with the rack in the center of the oven) and place a foil-lined baking sheet onto the rack.

  1. Wipe the tops of the mushrooms with a damp cloth and remove the stems and the gills. (The gills are easily scraped out with a spoon.)


  1. Use a sharp paring knife to cut an “X” on the top of each mushroom.

  1. Brush the mushrooms with avocado oil and season all over with salt and pepper.

  1. Place the mushrooms on the preheated baking sheet in the oven, gill side up, and bake them for 10 minutes.  Then, flip each mushroom and bake them gill side down for an additional 10 minutes.

  1. Remove the tray from the oven and let the mushrooms cool to room temperature. Increase the oven temperature to broil.

  1. While the mushrooms are baking, start preparing the stuffing.

  1. Heat a couple tablespoons of ghee in a large skillet over medium heat and sauté the minced onion  (with salt and pepper) until they are soft and translucent.

  1. Add the sausage, breaking it up with a wooden spoon, and a few dashes of Sunny Paris seasoning.  Cook the meat until it is no longer pink. Remove the filling to a medium bowl and let it cool to room temperature.

  1. Once the filling is cool, add the egg, spinach, coconut flour, salt and pepper. Mix to combine.

  1. Transfer the roasted mushrooms onto another baking sheet lined with foil (the original baking sheet may have lots of mushroom liquid on it) and pile the stuffing onto each cap. Press down on the stuffing to make it compact.

  1. Place the tray under the broiler (center rack) for about 5 minutes, rotating halfway during the cooking time. The stuffing should be evenly browned (but not burned) when the mushrooms are finished.

  1. Top the baked mushrooms with Rao’s marinara sauce and serve!

Monday, December 30, 2013

Posted by Unknown 12:36 PM No comments

Instructions

1.  Hard boil your eggs! Now, you could try baking them instead, but I don’t recommend it for 2 reasons: 1) it’s harder to peel and 2) brown spots occur sometimes when you bake them which is not as pretty.  However, with that said – I still baked them because I was lazy and wanted to walk away from the kitchen for half an hour :P
2.  Slice your hard boiled eggs in half vertically.
3.  Scoop out the solid yolk and dump it in a medium sized bowl.
4.  Chop up your cilantro and add to bowl.
5.  Cut up your avocado and put half of it in the bowl.
6.  Add your salt, pepper, and lime juice (optional) to the bowl.
7.  Now mash it all together.  I use a masher for this, and it works great!
8.  Scoop out the mashed deviled eggs mixture in to egg’s holes.
9.  Add a dash of paprika (or not, it’s optional!) and maybe small cilantro leaves for garnish, and you’re done!
Healthy Deviled Eggs!

Wednesday, December 11, 2013

Posted by Unknown 7:55 AM No comments


Ingredients:
1/2 lb Bacon, diced
1 large shallot, diced
1 tablespoon butter
1 tablespoon brown sugar
2 pears, cored and sliced into bite sized pieces
6 eggs, lightly beaten
1 cup almond milk
1/2 teaspoon thyme
1/2 cup gorgonzola or other blue cheese, crumbled
1 pre-baked almond butter pie crust (see below)

Directions:
1. Cook the bacon and shallot in a pan.
2. Add the butter and let it melt.
3. Add the sugar and cook until bubbly, about 3 minutes.
4. Add the pear and saute until tender, about 3-5 minutes.
5. Mix the pears, eggs, half and half, thyme and gorgonzola and pour it into the pre-baked pie crust.
6. Bake in a preheated 375F oven until golden brown on top and set in the center, about 25-45 minutes.

Almond Butter Pie Crust
(makes 1 crust)


Ingredients:
1 cup GF all-purpose flour
1/2 cup ground almond (toasted before ground) 
1/2 teaspoon salt
1/2 teaspoon sugar
8 tablespoons (1/2 cup or 1 stick) unsalted butter (cold, cut into 1/2 inch cubes)
4-5 tablespoons water (cold)

Directions:
1. Pulse the flour, ground almonds, salt and sugar in a food processor to mix.
2. Add the butter and pulse until the mixture resembles a coarse meal, about 6-8 times.
3. Add a tablespoon of water at a time pulsing in between until it starts to clump together.
4. Place the dough on a clean surface and shape it into a disc.
5. Wrap the dough in plastic and refrigerate for at least an hour.
6. Roll the dough into a 12 inch circle about 1/8 of an inch thick on a lightly floured surface.
7. Place the dough into a 9 inch diameter spring form pan with the edges going up the side of the pan.
8. Place a piece of parchment paper in the pie and fill it with rice or beans to hold it down.
9. Bake in a preheated 350F oven for 15 minutes.
10. Remove the parchment paper and weight and poke the bottom of the crust with a fork a few times.
11. Bake until a light golden brown, about 10 minutes.

Wednesday, November 20, 2013

Posted by Unknown 6:20 AM No comments


Raw Nut Pulp Hummus 
Ingredients:
1 ¼ cup nut pulp (leftovers from making nut milk from this recipe)
1 fat clove garlic
4 Tbsp. lemon juice
2 Tbsp. water
4 Tbsp. raw tahini (or other raw nut butter)
1 tsp. ground cumin
¼ tsp. crushed chilies or cayenne pepper
pinch sea salt + pepper
Directions:
1. In a food processor, pulse to mince garlic. Add everything but the nut pulp and blend until creamy.
2. With the motor running, slowly add the nut pulp a few spoonfuls at a time until you have everything well blended. If desired, add more water, one tablespoon at a time, until the desired consistency is reached.
3. Serve. Store leftovers in an airtight container in the fridge. (Remember that the nut pulp will last for up to seven days, so make your hummus quickly after the nut milk!)
If you are not using your pulp right away, put it in the fridge in a sealed container. It will keep for about a week, so if you don’t really plan on using it by that time, you have two options to extend the pulp’s shelf-life:
• Freezing is the easiest and fastest way to carry on with your day and forget about the pulp, but you will have to take the time to defrost it prior to using it in your recipes. Put it in a plastic zipper bag, or any sealed container — of course glass is always better when freezing food.
• Dehydrating the pulp is the basis for making almond flour, which will give a finer texture to your preparations. Just spread the pulp as evenly and thinly as you feel like over a teflex dehydrator sheet or baking tray & let it become completely dry. Then pulverize it in the blender and keep in a sealed container.

Chef's notes.....
If you know you are going to use the nut pulp for Hummus, I would suggest using less dates or make an unsweetened almond milk.

Posted by Unknown 6:18 AM No comments
I love almond milk.
But you know what I love more…homemade almond milk.
You can absolutely drive out to your local store and buy almond milk – but once you’ve had it fresh, the rich taste will keep you coming back for more! And guess what? It’s super easy to make.

Homemade Almond Milk
Ingredients
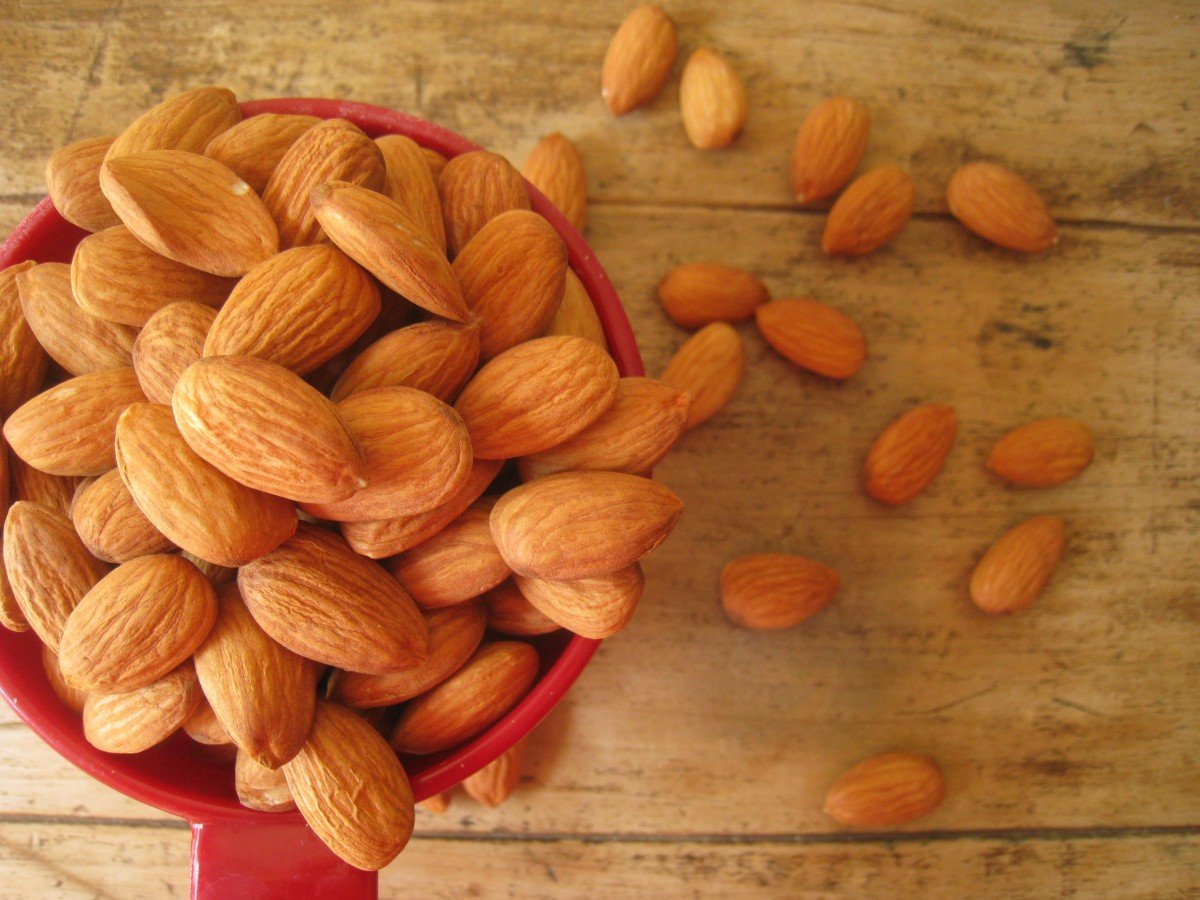
-pure, filtered water for soaking
-1 cup 
raw, organic almonds
-4 cups pure, filtered water, or coconut water.
Optional Add-Ins
-sweetener to taste (i.e. maple syrup, honey, stevia, or my ultimate fave…4-6 medjool dates)
-homemade vanilla extract (I like to add 1 teaspoon to the mix)
-carob powder (Chocolate almond milk anyone!?!)
-spices (i.e. cinnamon, allspice, cloves, cardamon…get creative)
Method


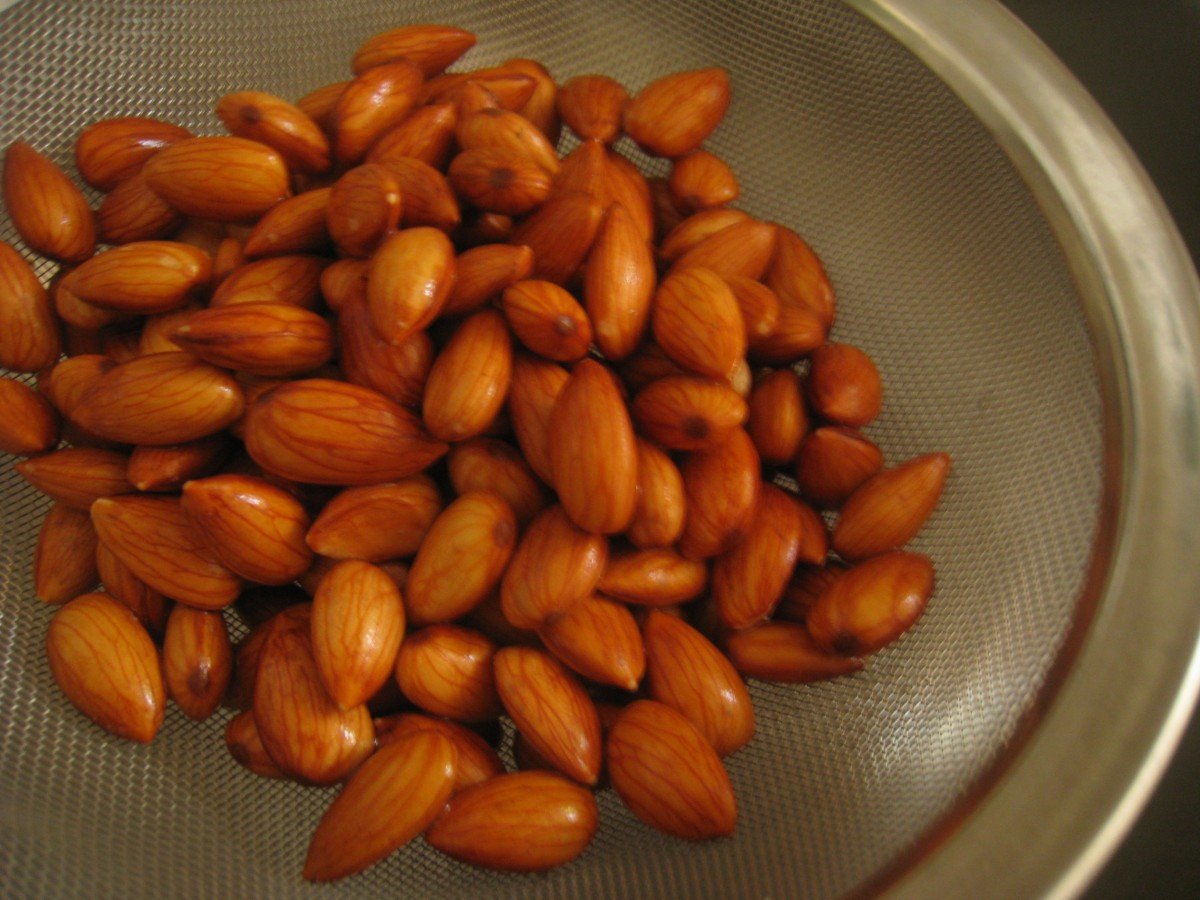
1.Allow the almonds to soak covered in pure, filtered water for up to 48 hours in the refrigerator. Overnight will do, if you’re in a pinch. But, I like to give mine a good couple of days.
2. After soaking, strain the soaked almonds and toss the soaking water.
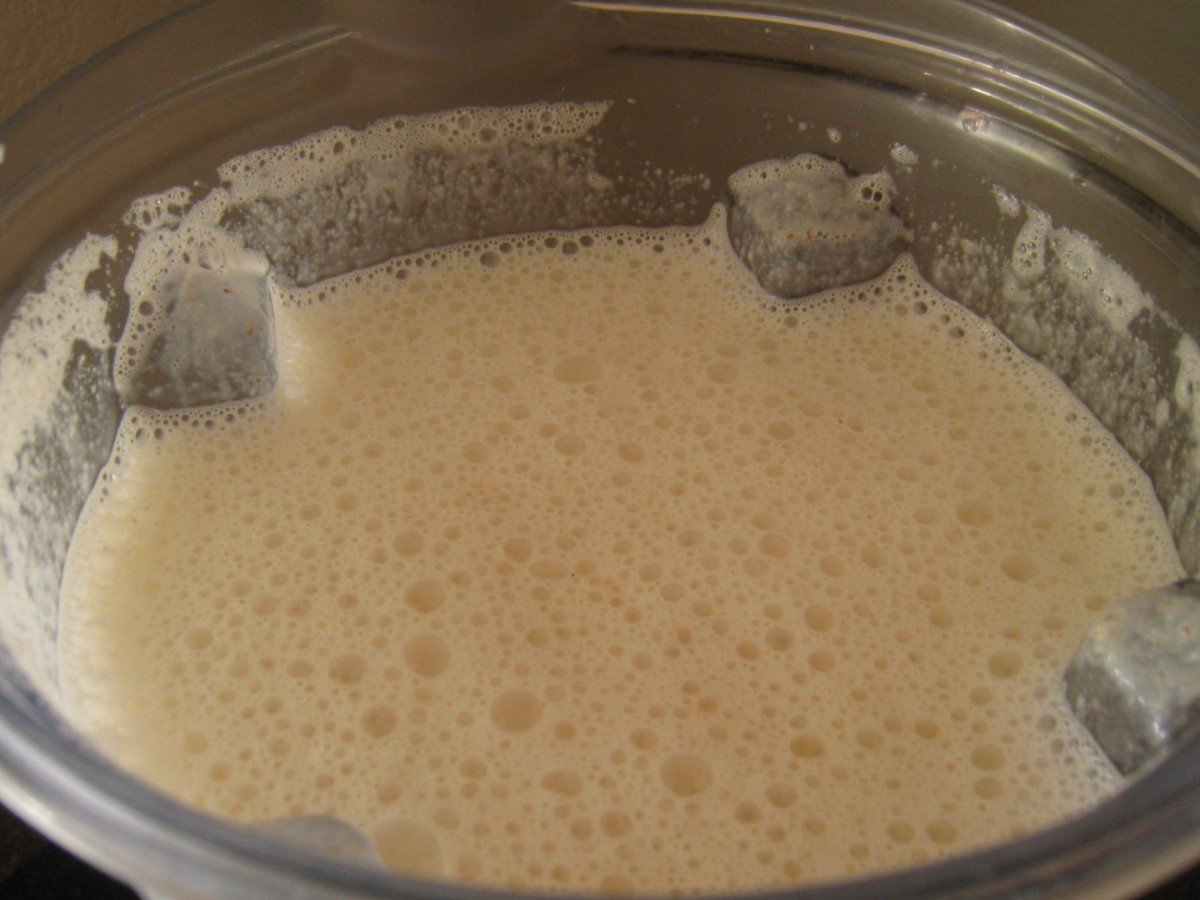
3. Place your almonds, four cups of pure, filtered water or coconut water, and any optional add-ins in a high-speed blender —  and blend on high until the mixture becomes frothy…approximately 1-2 minutes.
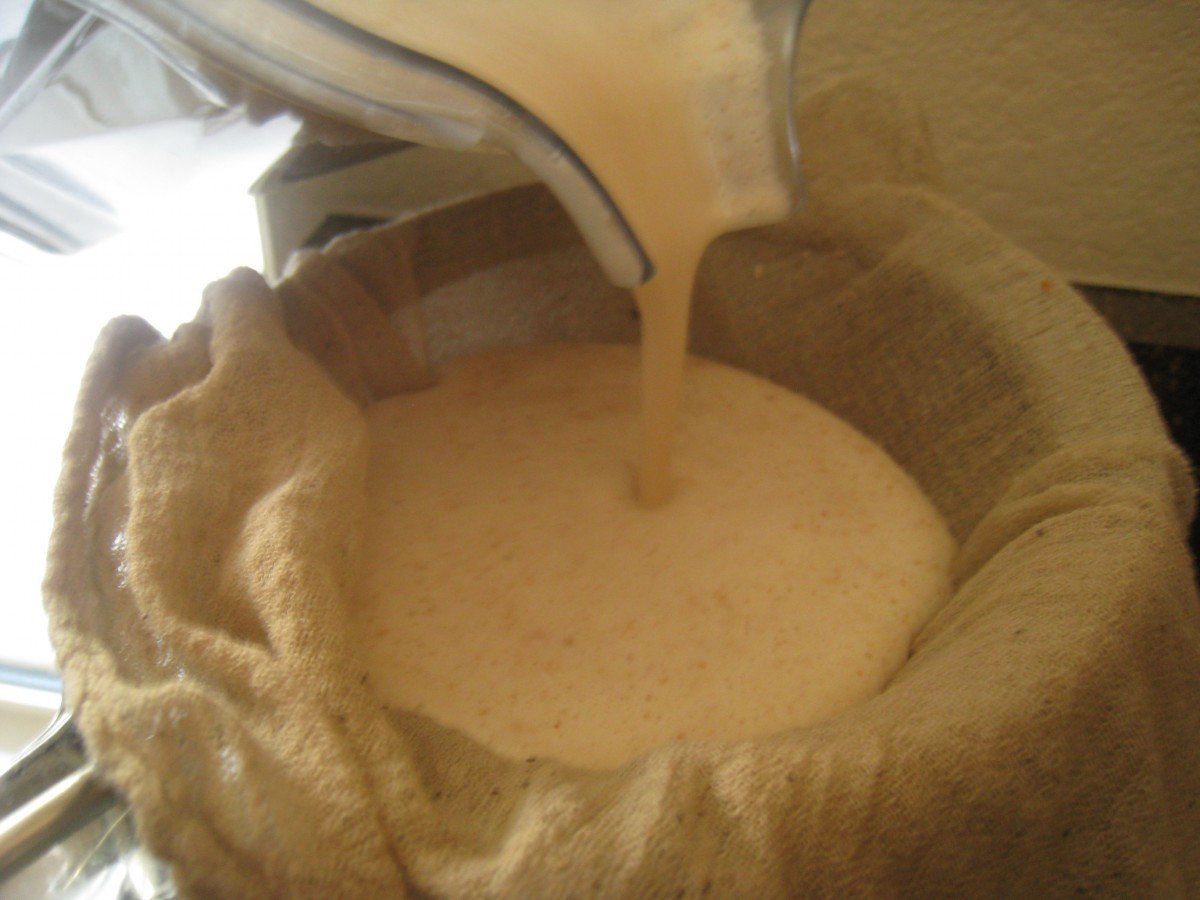
4. Pour the contents of the blender through a cheese cloth lined strainer — or if you have one, a nut milk bag — into a 1 quart glass canning jar. Squeeze to extract all the goodness of the almond meal.
5. Store the milk in the refrigerator. It should keep for up to 3 days. Shake the jar prior to use.
I don’t like the idea of wasting all of that almond meal/pulp. Now granted, most of the nutrients are gone into the milk, but I still find it useful for recipes like Hummus…yum! Or you could dehydrate them for use as a coating for chicken and fish. Perhaps make almond butter. What about using them as a body or facial scrub?
The possibilities are endless really!  

Search

Bookmark Us

Delicious Digg Facebook Favorites More Stumbleupon Twitter